Portal configuration guides
Click-by-click walkthroughs of every screen in the allus portal: creating and configuring a service, declaring request fields, sharing data back, wiring webhooks, registering API clients, and watching the logs. These are the UI-driven counterpart to the Portal API.
1. Create & configure a service
A service is the unit a person connects to — it owns its request fields, the data it shares back, its webhooks, its API client, and its own zero-knowledge keypair. Most companies run one service per integration point (e.g. CRM, Support).
- In the portal, go to Configuration → Services → New service.
- Give it a name (e.g. CRM). The server derives a default share code from the name; you can edit it later (step below).
- Set the audience:
b2p(business→person, the default),b2b, orany. People can only connect tob2p/anyservices. - Set the required admin email (see Admin email & alerts).
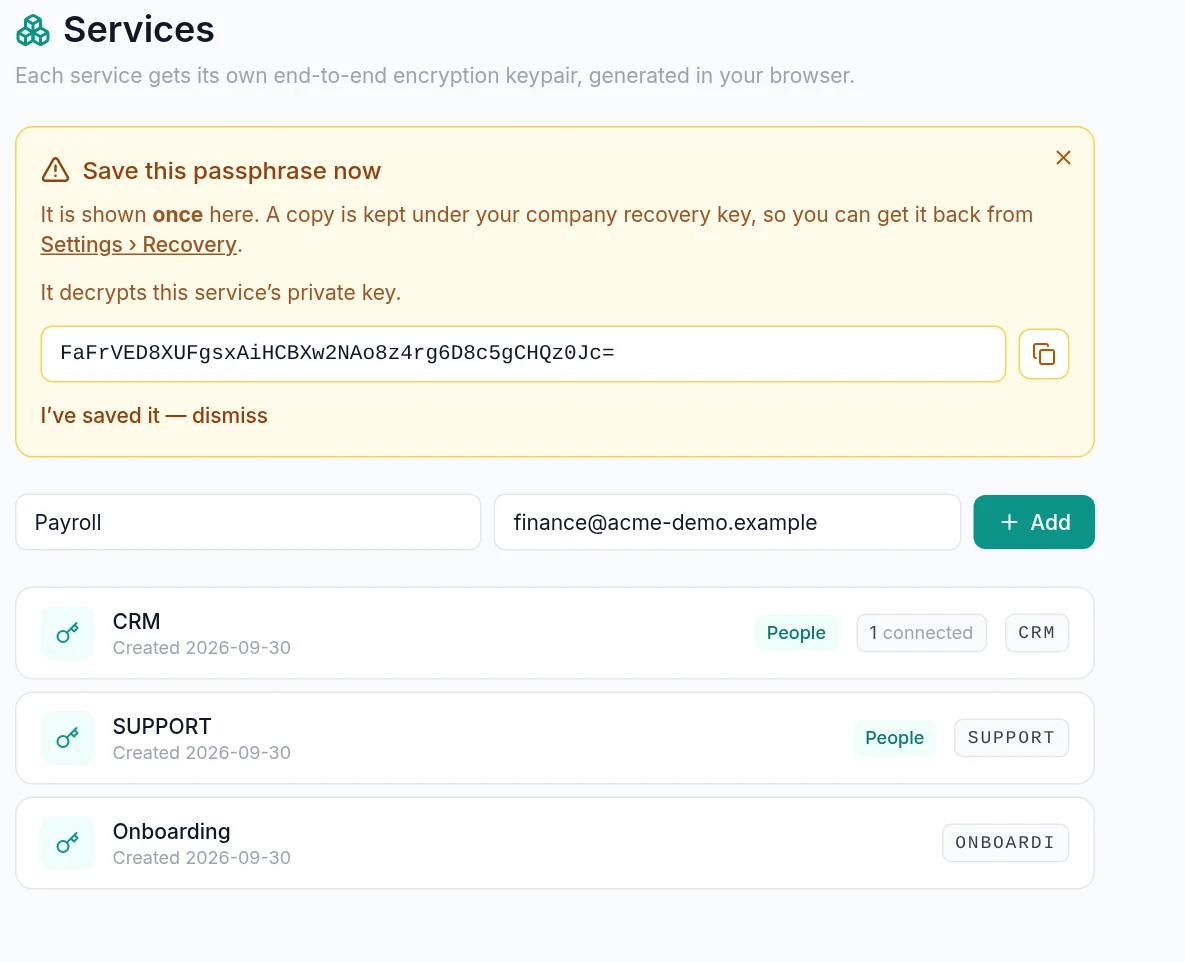
- On create, the service's private-key passphrase is shown once. Copy it now — you need it to decrypt person data. The card says whether the portal also saved a recovery copy, which you can reveal later under Settings → Recovery (Recovery).
2. Set the service share code
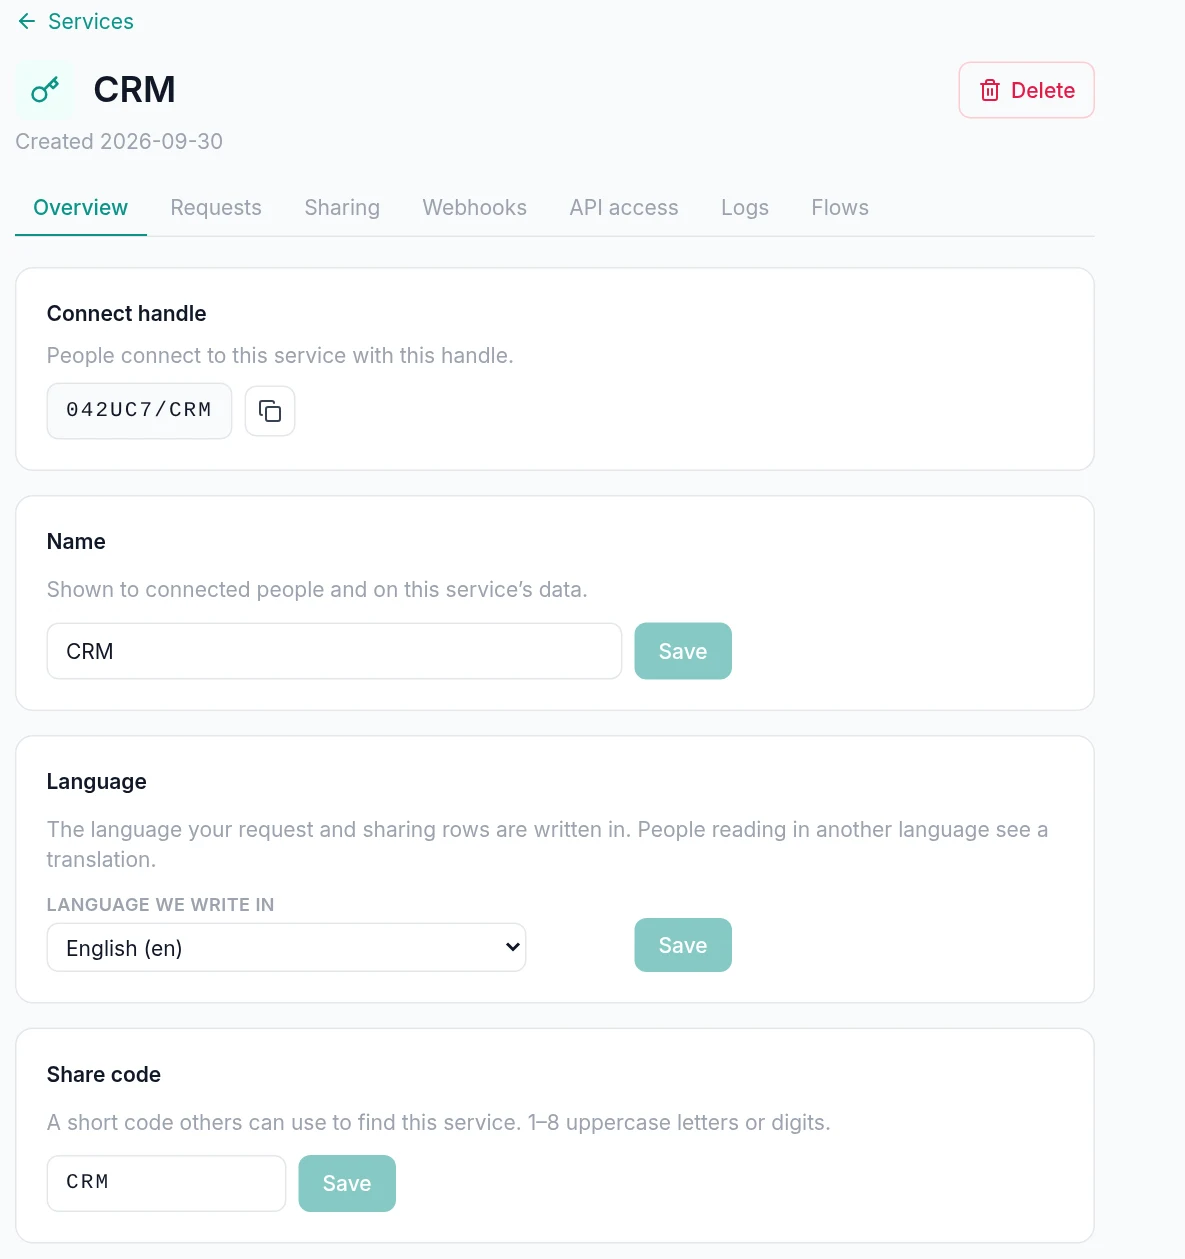
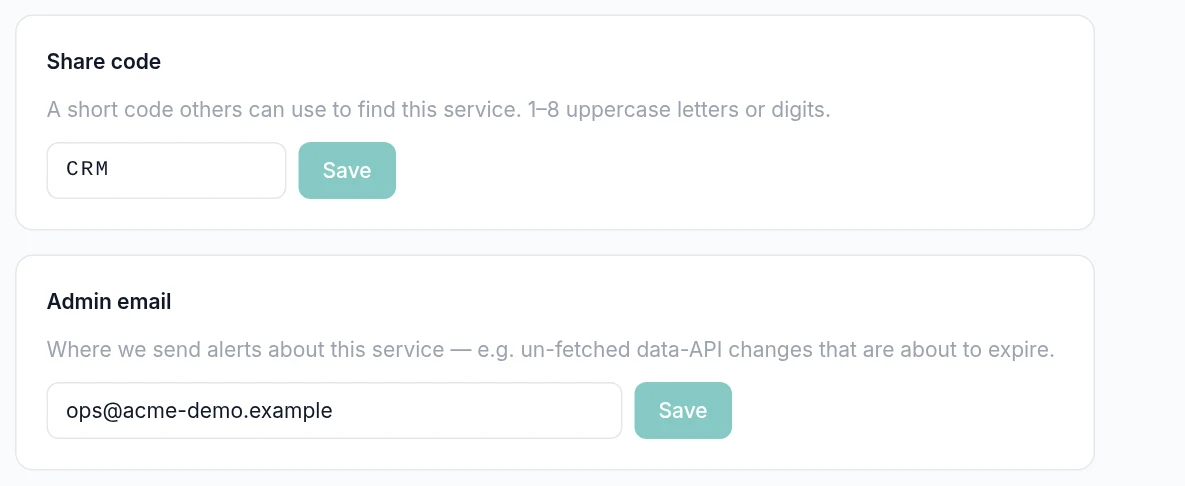
The share code is the second half of a person's connect handle, COMPANYCODE/SERVICECODE (your company profile code, a slash, the service code). It is uppercase [A-Z0-9], 1–8 characters, and unique within your company.
- Open the service, on its Overview tab.
- Edit the share code field (it forces uppercase and strips invalid characters).
- Save. A duplicate within your company is rejected.
3. Configure request fields
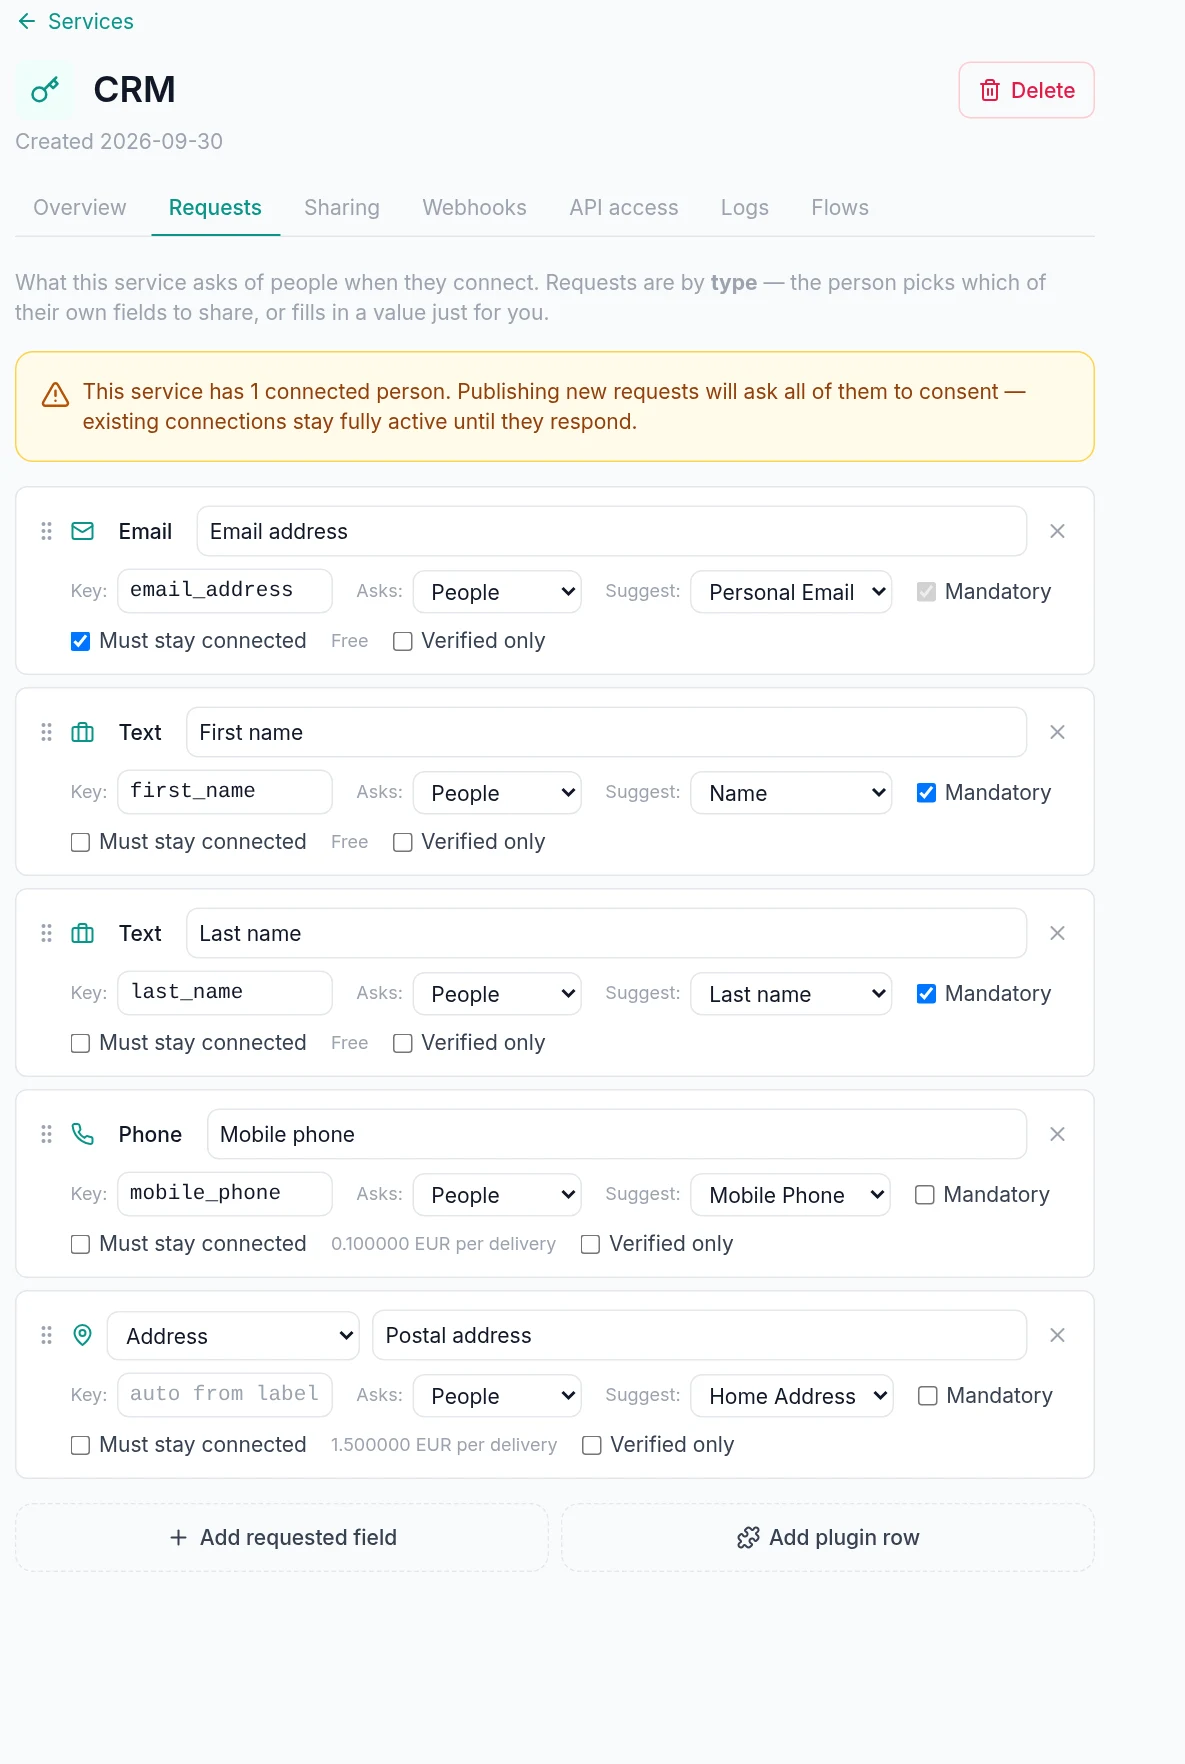
Request fields declare what a person provides when they connect. The Requests tab is a draft + publish editor — you build the set, then publish it all at once.
- Open the service's Requests tab.
- Add a field by type (e.g. email, phone, address, or a binary photo/document). Optionally set a display label and hint.
- Optionally pick a suggested field — an advisory global person field of the same type that the connect screen pre-selects for the person.
- Set the flags: Mandatory (the person can't connect without answering) and Must stay connected (the answer must be a live field, not a one-time snapshot — this implies mandatory).
- Drag to reorder, then Publish.
Requiring a verified value
A request row asked of people can additionally require a verified answer: verified: true, plus an optional verified_max_age_days (the value must have been verified within that many days; omitted = no limit). Only offered on a type at least one global field can carry a verification kind for (email, phone, address, or the person/document attributes an ID check establishes) — the toggle simply does not appear on a type nothing can verify. Two restrictions follow from what the flag means:
- It is refused on a row asked of companies — a company customer answers typed-only and can never satisfy the provenance a verified demand requires.
- It cannot be combined with a one-time (share-once) row: a verified demand accepts only an answer that references the person's own stored field, never a frozen snapshot.
The connect screen refuses an unverified or over-age candidate and offers the person Verify now in place, so the connection is never blocked outright — only the specific field is. A verified delivery is a metered, per-event charge to the receiving company (see Verified values for the price card and the charge-on-change rule); requiring one needs the Basic level or above.
The identical pair — verified / verified_max_age_days — is offered on a contract-flow field in the flow builder's Inspector (link-only there: a verified flow field can only be answered by linking one of the person's own fields, never captured fresh in the run) and on an OAuth-app claim in Configuration → OAuth apps (excluding a document claim, which cannot travel as an inline value). One rule, three surfaces.
Publishing & consent fan-out
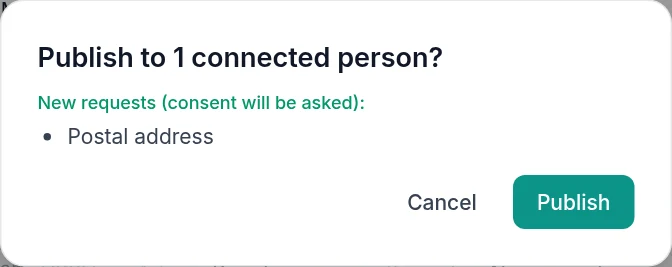
Publishing replaces the whole set. The server diffs your draft against the live config: existing rows update (the field type is immutable once set), new rows are added, removed rows are deleted along with any provided values + pending consents.
4. Share data back & the company profile
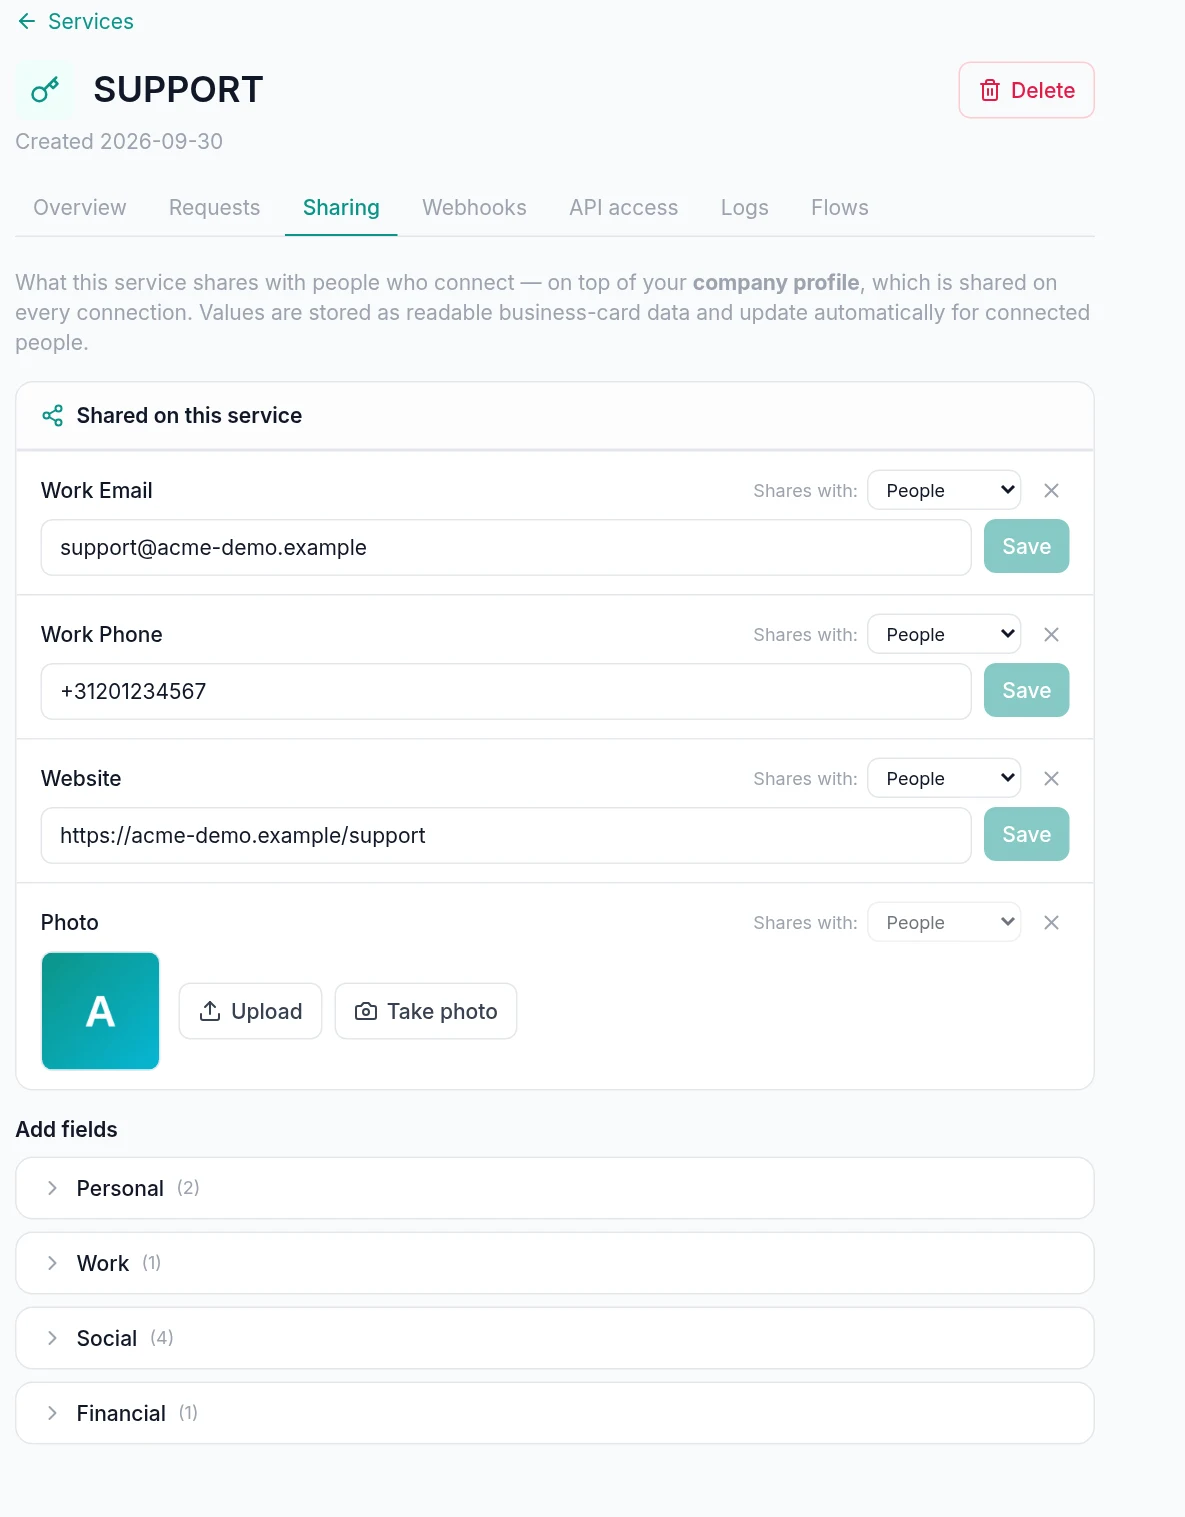
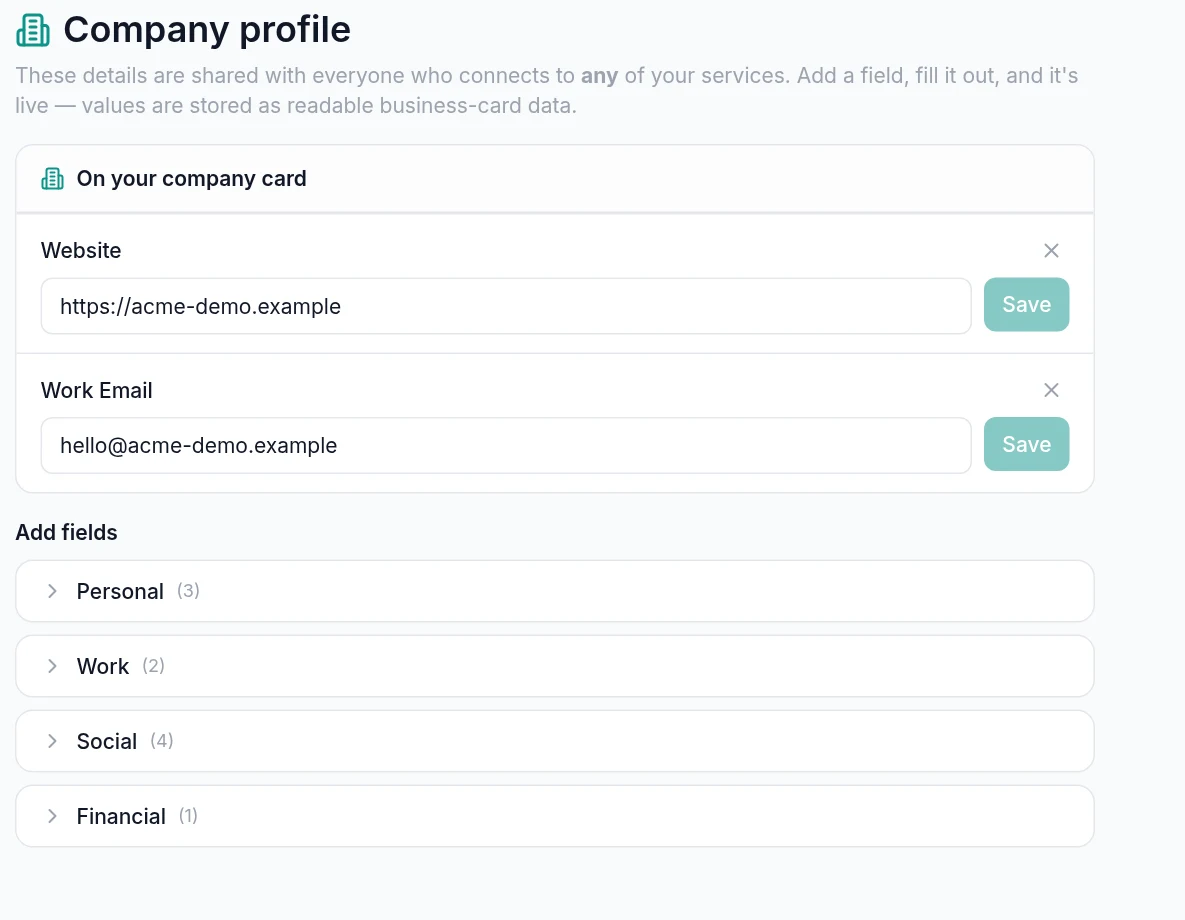
The Sharing tab controls what your service shares with everyone connected to it (e.g. a support email, a website). The Profile page controls your company-level data, shared with every connection across all your services.
- On the Sharing tab, enable a global
company/anyfield and fill its value. Values are plaintext and visible to connections instantly. - For a photo field, use the upload control (or webcam capture) — the value is set via the photo endpoint, not the plain text input.
- On the Profile page, fill company-wide fields the same way.
5. Configure webhooks
Webhooks push person→service change events to your endpoint in near-real-time — the alternative to polling the change feed. The full behavior (events, format, auth, the account-key envelope, the circuit-breaker) is documented on the Webhooks page.
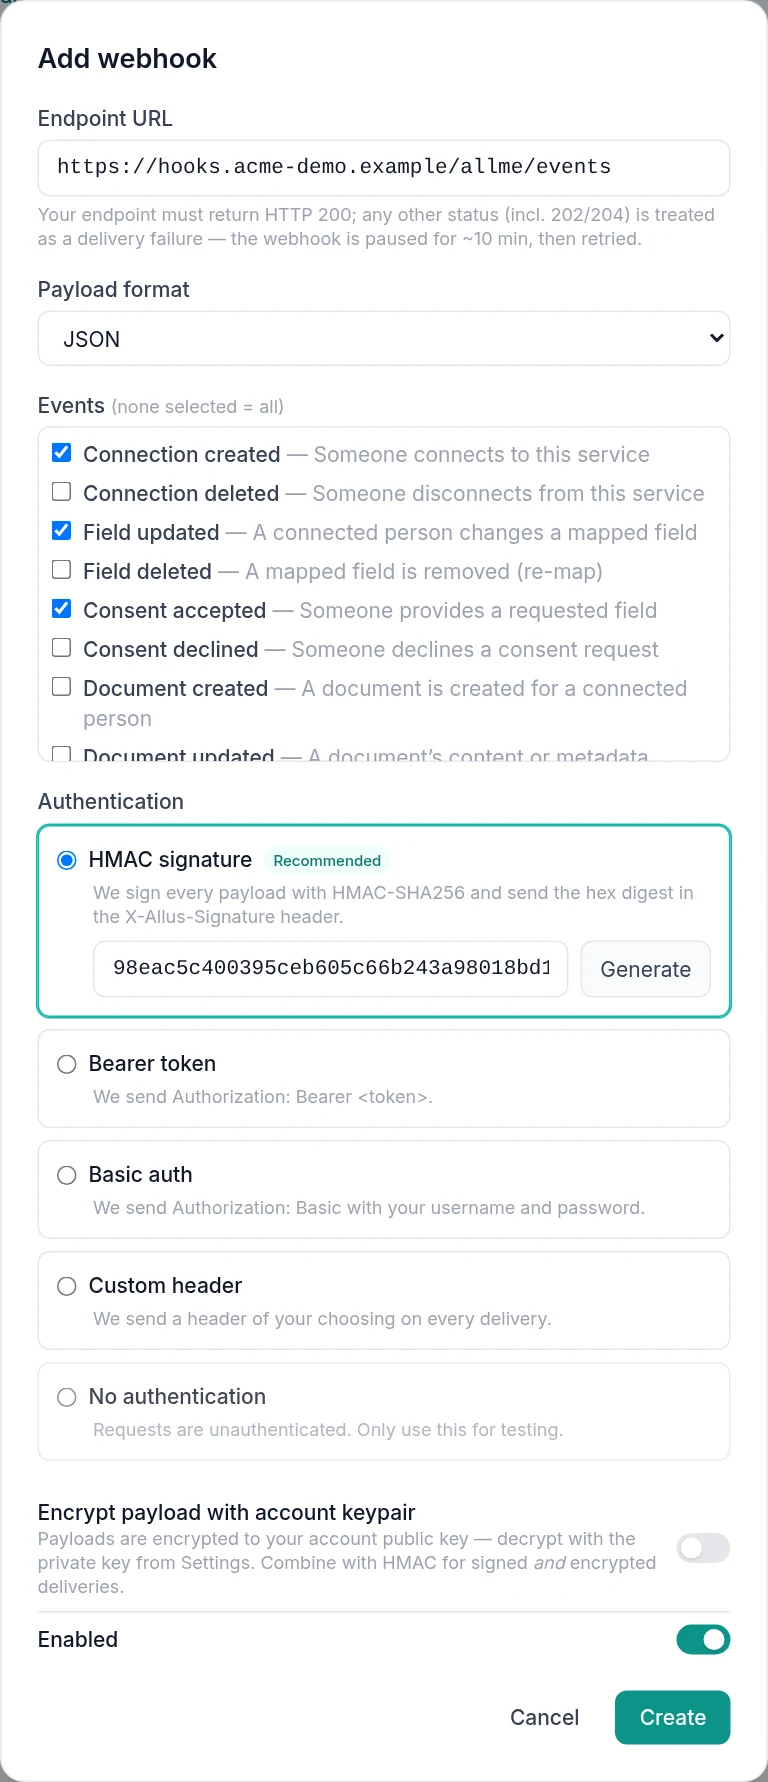
- On the service's Webhooks tab, click Add endpoint.
- Enter the endpoint URL — HTTPS for a real endpoint; plain HTTP is accepted for a local receiver.
- Choose the events to subscribe to (leave empty for all) and the wire format (JSON or XML). The list offers every event except
2fa_challenge_completed: to receive that one, leave the list empty or set the webhook's events over the portal API. - Pick an auth mode — HMAC is the recommended default. If you leave the HMAC secret blank, one is generated and shown once; copy it.
- Optionally enable encrypt payload (the account-key envelope), and toggle enabled.
•••• + the last 4). Editing a webhook without re-entering a secret keeps the stored value.6. Register an API client
A registered API client is the machine-to-machine credential your backend uses to call the service API. Each service has exactly one.
- On the service's API access tab, click Register client and give it a name.
- The client secret is shown once — copy it and the client id into your secret manager. The portal also keeps a recovery copy (Recovery).
- The client obtains tokens with the
client_credentialsgrant, its only grant. - Regenerate secret rotates the secret and revokes existing tokens. Delete removes the client and all its tokens.
A registered client is automatically whitelisted to the service data API and nothing else — the exact pattern list is on Authentication, which is the one place it is written down. Use the client to get a token from /oauth2/token.
7. Admin email & stale-queue alerts
Every service requires an admin email. It receives alerts when your change feed backlog goes unconsumed:
- Oldest unfetched change ≥ 2 days → a daily email.
- Oldest unfetched change ≥ 5 days → an hourly email.
- At 7 days the change is purged (the data is lost) and a purge entry is written to the log.
Set the admin email in the create form; change it later in the Admin email section of the service's Overview tab.
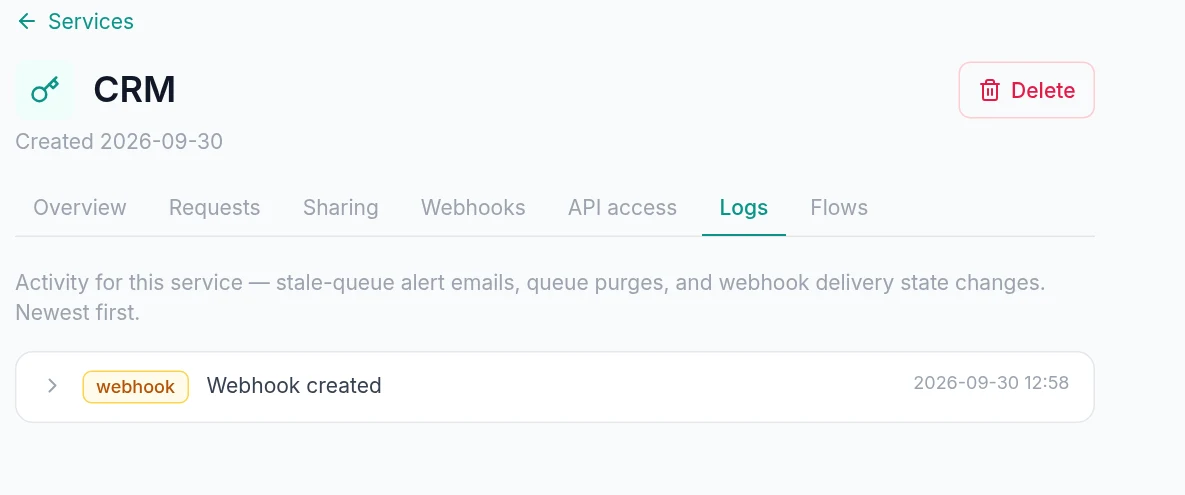
8. The Logs tab
Each service has an operational Logs tab — an audit of ops events, never person data. Entries include:
email— a stale-queue alert was sent (to-address + the pending count + oldest age).purge— the 7-day cleanup deleted N unfetched changes (what + how many were lost).webhook— a webhook state transition (running→bad with the HTTP code, bad→unknown, unknown→running with the replay count) or a config change.
Next steps
- Getting started — install an SDK and pull your first data.
- Service API reference — read the data your request fields collect.
- Webhooks — the full webhook behavior.
- Advanced: Portal API — script all of the above.